Alright, so you’re thinking about building a raised garden bed. It’s a great idea—raised beds make gardening easier, especially if you’re short on space, dealing with poor soil, or just looking to boost your garden’s productivity. But before you start gathering supplies, let’s break down how to build a raised garden bed step by step so you get it done right the first time.
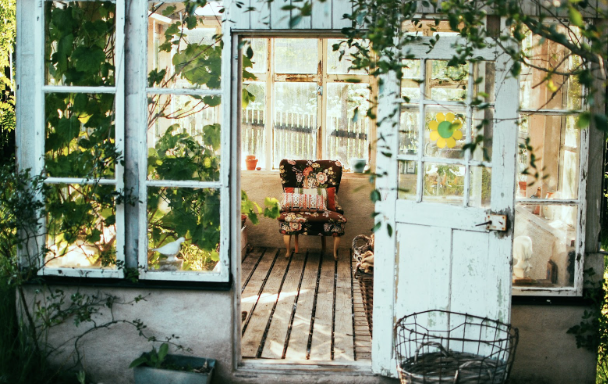
Why Raised Garden Beds Matter
First, let’s get one thing clear: raised garden beds aren’t just for show. They give you better control over the soil quality, drainage, and even pest management. A good raised bed helps prevent soil compaction, keeps weeds at bay, and extends your growing season by warming up faster in the spring. If you’re serious about growing your own vegetables, flowers, or herbs, a raised garden bed is a smart move.
The Appeal of Raised Garden Beds
Raised beds have become a popular choice among gardeners for a few reasons. They’re simple to construct, easy to maintain, and can be built with various materials depending on your budget. Here’s why people go for raised garden beds:
- Better Soil Quality: You can fill the bed with high-quality soil that’s rich in nutrients and perfect for growing healthy plants.
- Improved Drainage: Raised beds drain more effectively than ground-level gardens, preventing waterlogging and root rot.
- Less Back Pain: Because the soil is elevated, you don’t have to bend down as much, making it easier on your body.
- Versatility: You can grow a wide variety of plants, from vegetables to flowers, without worrying about the soil in your yard.
The Downside of Raised Garden Beds
But here’s the catch: while raised beds are awesome, they’re not magic. You need to put in some effort to get them right, and there are a few trade-offs to consider. Let’s get into the nitty-gritty:
- Cost: Depending on the materials you choose, building a raised bed can be more expensive than traditional gardening.
- Watering: Raised beds tend to dry out faster, so you’ll need to keep an eye on moisture levels and water more frequently.
- Initial Setup: While the long-term benefits are worth it, setting up a raised bed takes time, planning, and physical labor.
Now that you’ve got the pros and cons down, let’s dive into how you can build a raised garden bed from start to finish.
Step-by-Step Instructions for Building a Raised Garden Bed
1. Choose the Location
Location is everything. Pick a spot in your yard that gets at least 6 to 8 hours of sunlight daily, as most plants thrive in full sun. Make sure the area is level to avoid uneven water distribution.
- Sunlight: Check how the sun moves across your yard throughout the day. Morning sun is typically better for plants, but full-day exposure is ideal.
- Accessibility: Place the bed somewhere you can easily access with tools, hoses, or even a wheelbarrow.
- Drainage: Make sure the spot isn’t prone to flooding after heavy rain. You want water to drain away, not pool around your plants.
2. Choose Your Materials
The next step is to choose the material for your bed. You’ve got options: wood, metal, or even bricks. Cedar and redwood are popular because they’re naturally rot-resistant, but you can also use untreated pine if you’re on a budget. Avoid treated wood, as the chemicals can leach into the soil.
- Wood: Cedar and redwood last longer, but untreated wood can be a cost-effective alternative.
- Metal: Galvanized steel or aluminum panels offer a sleek, modern look and last for years.
- Bricks or Stones: A more permanent option, but they require more effort to install.
3. Decide on the Size
A standard size for raised garden beds is 4 feet wide, which allows you to reach the center from both sides without stepping on the soil. The length is up to you, but 6 to 8 feet is common. Make sure the bed is at least 6 to 12 inches deep for most plants, but if you’re growing root vegetables, aim for 18 to 24 inches.
- Width: 4 feet wide is ideal for easy access.
- Depth: At least 12 inches deep for most plants, but deeper is better for root crops.
- Length: Choose based on your available space and how much you want to grow.
4. Build the Frame
Once you’ve got your materials and measurements sorted out, it’s time to build the frame. Start by cutting your wood (or other materials) to the desired length and assembling the sides. Use screws or brackets to secure the corners, making sure everything is square and sturdy.
- Tools: You’ll need a saw, drill, screws, and a measuring tape.
- Assembly: Assemble the sides first, then attach them at the corners. Reinforce the corners with brackets if necessary.
5. Prepare the Ground
Before you place your raised bed on the ground, you’ll need to prepare the area. Clear any grass, weeds, or debris, and consider laying down landscape fabric to prevent weeds from growing up through the bed. If your soil drains poorly, add a layer of gravel at the bottom for improved drainage.
- Weed Control: Use landscape fabric or cardboard at the bottom of the bed to block weeds.
- Drainage: If you’re in a wet area, add a few inches of gravel before adding soil.
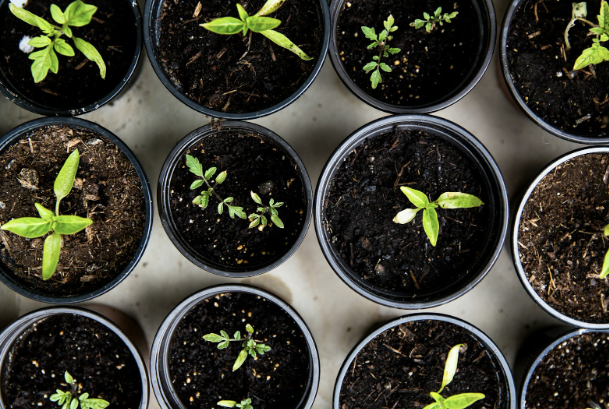
6. Fill with Soil
Now comes the fun part—filling your bed with soil. Don’t just use any dirt; opt for a high-quality garden soil mix. A good mix includes equal parts compost, topsoil, and organic matter like peat moss or coconut coir to retain moisture and improve drainage.
- Compost: Adds nutrients and improves soil structure.
- Topsoil: Provides the bulk of the growing medium.
- Organic Matter: Helps with moisture retention and drainage.
7. Plant Your Garden
Once your bed is filled with soil, it’s time to plant! Lay out your plants or seeds according to their spacing requirements. Raised beds are ideal for square-foot gardening, which maximizes the use of space. Water your plants well after planting to help them establish roots.
- Spacing: Follow the guidelines on your seed packets or plant tags for proper spacing.
- Watering: After planting, give your garden a good soak to help the roots settle.
Maintaining Your Raised Garden Bed
Alright, you’ve got your raised garden bed built and planted—now what? Maintenance is key to keeping your garden thriving. Here are a few tips to keep your raised bed in top shape:
- Water regularly: Because raised beds drain more efficiently, you’ll need to water more frequently, especially in the heat of summer.
- Add mulch: A layer of mulch helps retain moisture and keeps weeds at bay.
- Fertilize as needed: Use an organic fertilizer to keep your plants well-fed throughout the growing season.
- Rotate crops: Don’t plant the same crop in the same spot every year. Rotate your crops to prevent nutrient depletion and reduce the risk of pests.

Real-Life Implications of Not Maintaining Your Garden Bed
Think about it: neglect your raised bed, and the quality of your plants will suffer. Without regular watering, your plants will wilt. Fail to add compost or fertilizer, and you’ll end up with poor yields. Weeds can easily take over if you don’t stay on top of them, and before you know it, your once-beautiful garden bed is a sad sight. A little regular maintenance goes a long way in keeping your garden productive and healthy.
What to Look for in a Good Raised Garden Bed
If you’re serious about gardening, invest in quality materials for your raised bed. Here’s what to keep in mind:
- Durability: Cedar and redwood are long-lasting, while cheaper materials might need replacing sooner.
- Size: Make sure the bed is big enough for your plants, but not so wide that you can’t reach the middle.
- Depth: A deeper bed allows for a wider variety of plants, including root vegetables.
Conclusion
Building a raised garden bed is one of the best things you can do to boost your gardening game. It’s not just about aesthetics—it’s about giving your plants the best possible environment to thrive. From choosing the right materials to filling it with nutrient-rich soil, every step you take will pay off in healthier plants and bigger yields.
Follow these steps, and you’ll be well on your way to a beautiful, productive garden that requires less bending, fewer weeds, and healthier plants. A little effort upfront leads to a bountiful harvest down the line—what’s not to love?
